Mistake 01
Skipping the degrease
Cabinets carry an invisible film of cooking grease and hand oils. Coat over it and you've finished onto a non-stick surface. This is the number-one cause of peeling. Degrease every face, then wipe clean.

Most cabinet jobs don't fail because of the topcoat. They fail because of what happened before it. Here's the prep, the product logic, and the six mistakes that cause peeling, chipping, and yellowing — from people who have sprayed this stuff in production.
Degrease, scuff-sand, prime for adhesion, run a coating engineered to cure hard, and let it cure before heavy use. Do those five things and the finish lasts. Skip one and it won't.
Cabinet doors get touched, bumped, splashed, and scrubbed every single day. A finish that lasts a decade on a wall can fail in months on a cabinet — which is why how you finish matters far more than what color you pick. The upside: the failures are predictable. Nearly every peeling, chipping, or yellowing job traces back to one of six mistakes.
Cabinets carry an invisible film of cooking grease and hand oils. Coat over it and you've finished onto a non-stick surface. This is the number-one cause of peeling. Degrease every face, then wipe clean.
Factory finishes are slick by design. Coatings need tooth to grip. A quick 220-grit scuff dulls the sheen so primer can bite. Skip it and you get chipping at every edge and corner.
Primer is the handshake between old finish and new coating. On slick or tannin-prone surfaces (oak, knotty pine), a bonding or stain-blocking primer isn't optional — it's the difference between adhesion and a coin-flip.
Blunt version: wall paint never fully hardens. It stays soft, marks under a fingernail, and won't take daily abuse. Cabinets need a coating engineered to cure hard — an enamel or a real cabinet-grade system.
"Dry to the touch" is not "ready." Recoat too soon and you trap solvents. Load plates onto a shelf that's dry but not cured and you'll peel the finish right off. Dry is surface-set; cure is full hardness.
Oil-based finishes and cheap enamels amber over time, especially in low light and over knots. For a white that stays white, run a non-yellowing waterborne system. The product choice decides it on day one.
Ten steps, three phases. The order is the part people get wrong — and phase two is where.
Most guides fill before they prime. We don't: primer seals the wood so filler bonds to a stable surface, and the uniform white shows you every dent the bare door was hiding.
Steps where a kit product goes on. All three come in the Starter Kit →
A coating worth running checks all five: cures hard, self-levels (flows out brush marks), non-yellowing, strong adhesion, and washable.
| Coating type | On cabinets | Watch out for |
|---|---|---|
| Flat / eggshell wall paint | Poor — stays soft | Marks and chips fast. Avoid. |
| Oil-based enamel | Hard finish | Yellows over time; strong fumes |
| Waterborne cabinet system | Hard + non-yellowing | Buy a true production-grade line, not "cabinet-ish" |
This is the whole reason Wild Fox Coatings exists. We spent years in a production cabinet booth and got tired of watching good prep wasted on the wrong product. So we distribute Novalk — solvent and waterborne industrial wood coatings that cure hard, lay down glass-smooth, and don't yellow. The cabinet system in this kit is the one we ran ourselves.
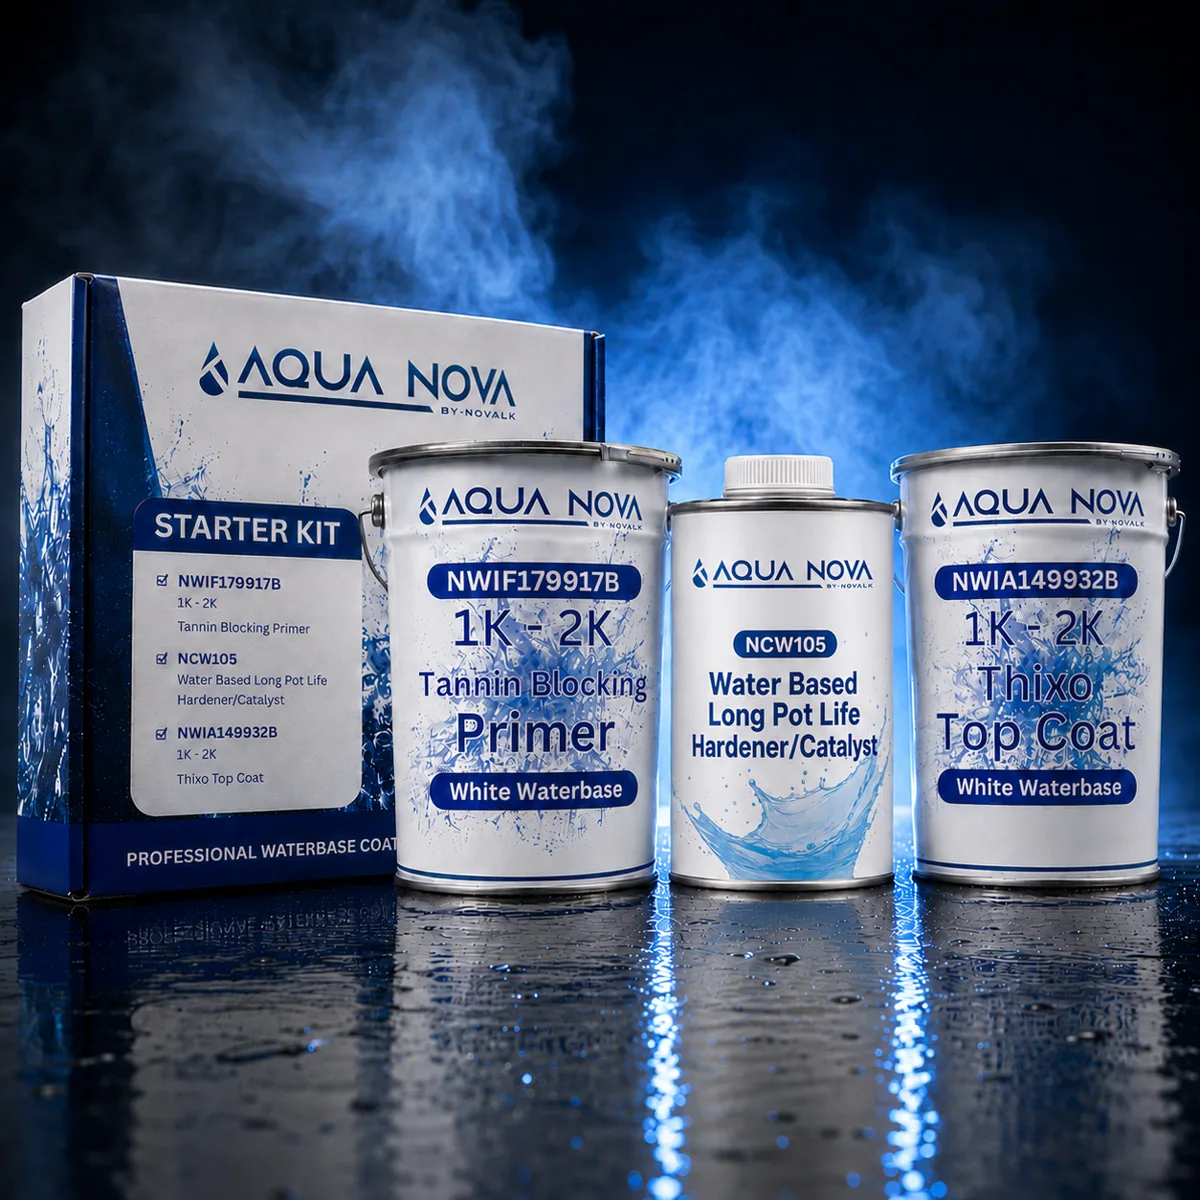
Product images are representative. Containers, labels, and packaging may differ from what's shown.
$352.58 free shipping — 1% off the 354.91 you'd pay buying the three cans separately. Assembled in-house from stock, so ship time depends on what's on the shelf; we'll email you with a date if we're waiting on a component.
The three products in this kit are ones our team has sprayed in production — not a catalog pick.
The same industrial system that runs on those jobs — no quote wall, no mystery brands.
Questions on prep or product? You'll talk to someone who runs a spray booth, not a call center.